
A Step-by-Step DIY Guide for Easy Installation
Installing a wood lamppost in your yard enhances the aesthetic appeal of your property, and adds to the overall functionality and security of your home. With a few basic tools, you can successfully complete this rewarding DIY project in just a matter of hours.
Remember to take safety precautions and gather all the necessary supplies before you begin. By following the step-by-step instructions below, you will be able to enjoy your new lamppost in no time.
Safety Precautions
- Call Dig Safe (in Massachusetts, dial 811) before digging post holes.
- If you need an electrical connection, make sure the work is done by a licensed electrician.
Materials Needed
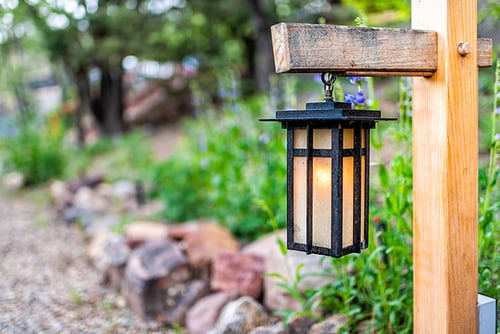
- A wood lamppost
- Post hole digger
- Circular saw
- Level
- Measuring tape
- Shovel
- Screwdriver
- Wood screws
- Drill
- Safety goggles
- Work gloves
- Light fixture (if desired)
Step-by-Step Guide
Step 1: Choose the location
The first step in installing a wood lamppost is to choose the location. Look for a spot that is close to the power source and away from any obstructions that may hinder its functionality. You should also factor in the distance from the road and the length of the lamppost.
Step 2: Dig a hole
Using a post-hole digger, dig a hole at the post location that is roughly 24 inches in diameter and 36 inches deep. Make sure that the hole is level and straight. Reserve the dirt and small rocks you have removed.
Step 4: Set the post
Place the post into the hole and make sure it stands straight. Fill the hole with the dirt and small rocks you removed, filling it entirely. Tamp down firmly.
Step 5: Level the post
Make sure the post is straight and even by holding a level vertically against the post in several spots around its circumference to check it for plumb. Adjust as necessary.
Step 6: Attach the top
Use wood screws to attach the top to the post.
Step 7: Attach the arm
Use a circular saw to cut the arm to the appropriate length. Attach the arm to the post using wood screws.
Step 8: Install the light fixture (if desired)
After the arm is secure, attach the light fixture to the top of the arm and secure it in place using wood screws.
Step 9: Test the light fixture
Before completing the project, turn on the light switch and check that the bulb is lighting up correctly.
Step 10: Finish
Cover the base of the lamppost with soil or mulch and add any final touches to the lamppost. You now have a beautiful and functional addition to your yard!
AVO Fence & Supply is a provider of high-quality fencing materials and supplies—including wood, vinyl, and granite lampposts—with locations in Stoughton, Hingham, and Plymouth. We are committed to sharing our expertise with homeowners and contractors in the New England area. Give us a call today at (781) 341-2963.