
Considerations and Steps to Follow for Choosing a Mailbox
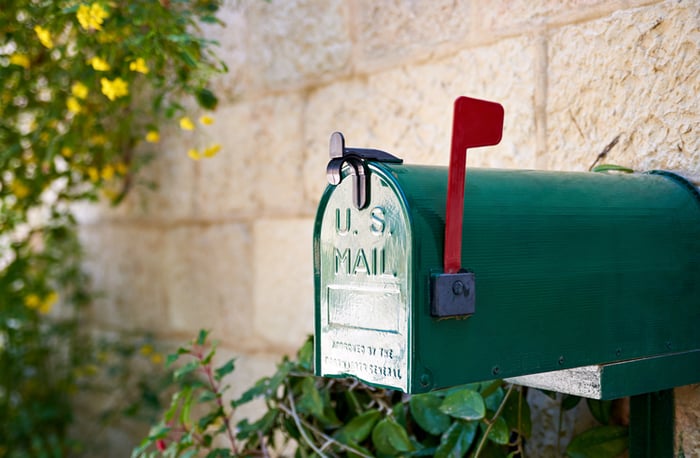
Your mailbox is part of your home’s curb appeal. Whether you choose our sturdy cedar, custom vinyl, or New Hampshire granite mailbox posts, you are sure to add a beautiful accent to your front walk or driveway. Here is our in-depth guide to installing a mailbox.
Understand the USPS Requirements
Height: U.S. Postal regulations require the height of the mailbox to be between 40” to 44” from the road surface level to the bottom of the finished, installed mailbox.
Distance: The front of your mailbox should be placed 6” to 8” back from the curb.
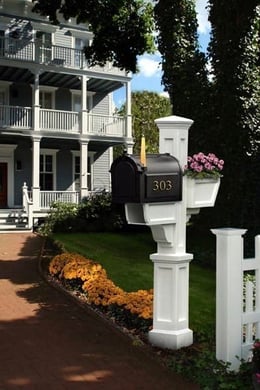
Mailbox numbers: Per USPS standards, mailboxes must be clearly labeled with the number of the house. Use numbers at least 1” high.
Note: Individual post offices may have their own regulations, so you should check with your local post office to confirm the height of the mailbox and the distance from the street.
Choosing the Right Mailbox Post Material
Browse our selection of custom mailbox posts here. Our posts allow for secure 30” burial and a USPS approved height of 42” from the ground service. Our mailbox posts include mounting brackets and mailbox platforms to accept mailboxes measuring 10”H x 8”W x 21”D. Mailboxes are sold separately.
Preparing to Install a Mailbox
- Before you dig: You should contact your utility-locating company before digging a hole. All it takes is a free call to 811. The depth of utility lines varies, and there may be multiple utility lines in a common area. In Massachusetts, state law requires a minimum notification of 72 hours before the start of the project (weekends and legal holidays not included). Check the notification time for your area.
- Tools and supplies: To replace a mailbox post or install a new one, you will need:
- Shovel
- Tarp
- Tape measure
- Level
- Drill, socket wrench, and/or screwdriver
- Mailbox post and mailbox with bracket
- Gravel or concrete, as necessary
Installation: Step by Step
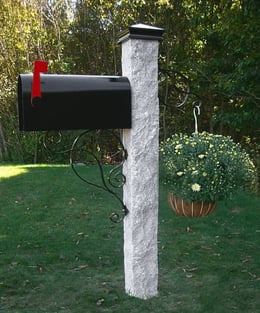
For a granite mailbox post:
- Take accurate measurements for the correct placement of the post hole. If you have a curb, add the curb height to the overall depth of the hole, making sure the total height of your mailbox is no more than 44” above street level. Mark the spot to ensure it is 6” to 8” back from the curb.
- Use a post hole digger to dig a hole at the place you have marked. Make sure it is deep enough to meet the height requirement. Make a template post from a piece of scrap wood to help measure the correct height of the mailbox.
- Use a tarp to collect the soil from the hole to make it easier to backfill.
- Drop the post in the ground with the help of a pickup truck. Position the tailgate of the truck next to the empty hole, lining up the end of the post with the hole. Most granite posts come with pre-installed holes and anchors to accept the bolts for the mailbox. Ensure the bolt holes are facing in the right direction. Slide the post off the tailgate directly into the hole. This task requires two people.
- Backfill the hole with the dirt you removed earlier. You can also add gravel. For every four inches of earth, tamp down firmly around the base of the post. This prevents voids and settling later.
- Keep a 48” level against the side of the post to ensure the post remains straight during installation.
- Install the bracket, mailbox platform, and optional post cap.
- Attach the mailbox to the post. Place the level inside to make sure it is flat.
For a wood mailbox post:
- Follow the same instructions for measuring the location and digging the hole.
- Place the wood post in the hole.
- To increase drainage and reduce risk of rot, add a few inches of gravel to the hole.
- Prop up the post with support beams on all sides. Make sure these are secure and will not shift as the concrete is poured.
- Mix and pour concrete in the post hole, leaving a few inches of space at the top of the hole so the cement is not flush with the ground.
- Make sure the post is level. Make any adjustments before the concrete dries.
- Install the bracket, mailbox platform, and optional post cap.
- Attach the mailbox to the post. Place the level inside to make sure it is flat.
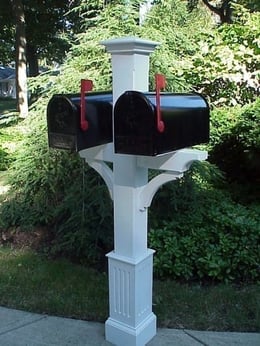
For a vinyl mailbox post:
- Follow the same instructions for measuring the location of the post hole.
- Using a sledgehammer, pound the end of the pipe anchor into the ground. Use a level to check for straightness and adjust donuts to compensate, if necessary.
- Slide the vinyl post over the pipe and lower base molding of the post. Secure post to top donut with screws.
- Install the post cap.
- Attach the bracket. Do not overtighten to avoid damaging the bracket or the anchor inside the post.
- Attach the mailbox to the post. Place the level inside to make sure it is flat.
Mailbox Landscaping Tips
Now that your new mailbox is installed, get creative! Here are some ideas for maximizing your curb appeal:
- Place a ring of pavers, bricks, or stones around the base of the post. Fill with garden soil, plant your favorite flowers, cover the roots with mulch, and voila! You now have a bright and cheerful area.
- Skip the pavers and establish a flowerbed directly around the base of the post instead. Plant your favorite annuals or perennials in a 4” to 6” layer of garden soil—and don’t forget the mulch! Consider miniature rosebushes, hostas, climbing flowers, even daffodils and tulips. The possibilities are endless!
- Not into gardening? Buy two pre-planted pots of flowers at your local garden center and place on either side of your mailbox post. Done! And the best part is you can switch them out according to the seasons.
Trust AVO Fence & Supply for your mailbox post
Why select AVO Fence over the big box stores for your mailbox? The box stores may offer a lower price, but you get what you pay for. Cheaper materials mean lower quality, less durability, and you may find you need to replace your mailbox post in a shorter timeframe. That will cost you more in the end. With a custom mailbox post from AVO Fence & Supply, you can be sure of the highest quality materials, professional installation, and a long-lasting and beautiful addition to your home landscape. Contact us today or call (781) 341-2963.