This post is one of a few in our “How to Install a Fence” series. Check out our other posts for a complete fence installation guide.
How to Plan Your Fence Project
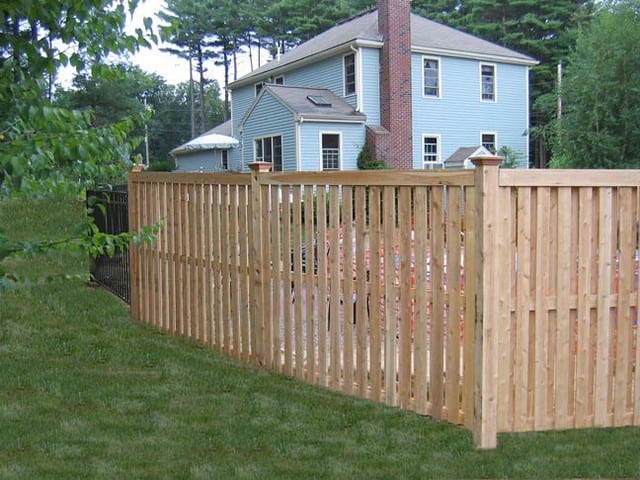
Installing a wooden fence can seem daunting – but with the guidance of the professionals at AVO Fence & Supply, it doesn’t have to be. We have a variety of wood fencing styles to choose from and a range of wood types that are excellent for fence construction, including cedar. This guide breaks down the basic steps for DIY wood fence installation.
 Step 1. Mark out the fence location.
Use spray paint to mark the locations of the corner or end post holes.
Step 2. Temporarily set the posts.
Using a post hole digger, dig a hole for each post you will use. To ensure that posts lodge below the frost line, create holes deep enough to submerge the bottom third of the post below ground. This should be a minimum of 2’ deep for a 4’-6’ high fence and a minimum of 3’ deep for a 7’-8’ high fence. The ideal diameter of the hole should measure three times the width of the post.
Step 3. Add drainage.
Add a few inches of gravel to the bottom of the holes for drainage (not necessary if you already have good drainage). Insert corner posts in holes. Ensure the posts are level and plumb. Temporarily brace posts with 2" x 4"s attached to post tops and ground.
Step 4. Mark the fence line.
Run a string line from the top edges of the corner posts. Make sure the string is taut and level. This provides a guide to ensure that the posts are all installed at the same height. Install remaining line posts checking that each is plumb and at the same height as the corner posts.
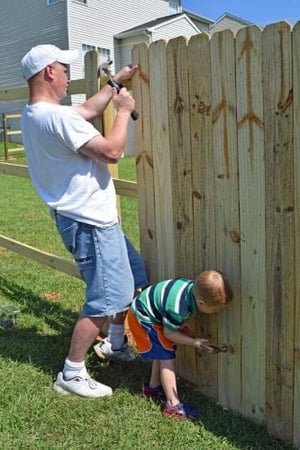
Step 5. Assemble the fence panels or rails.
Insert each section of fence paneling (or rails if you’re building a split rail fence) between two posts.
Step 6. Permanently set the posts by filling in the holes.
We suggest setting fence posts without concrete. Use concrete only when it is necessary. Concrete can act as a sponge, drying out the wood, and causing it to rot prematurely.
TIPS:
- After each section of posts and panels is added, observe--you may need to lower or raise posts by prying them up and re-tamping them down.
- If you need to shorten a section, cut rails at the desired length. You may need to modify rails to insert into the post.
- To protect your wood fence from water damage, you may need to seal it. Check that the finish you choose is safe for the type of fence you have.
Whether you are a DIY homeowner or a new contractor looking to break into fence installation, you can rely on the fence experts at AVO. In addition to providing you with all fencing materials needed at the best possible price, we will also provide you with detailed instructions-and we’ll be here if you have any questions!
Are you ready to get started on your DIY fence project? Call us at 781-247-5236 or visit us at any one of our 3 convenient locations and we will be happy to assist you.
More than your local fence company. AVO Fence & Supply knows there is always more to learn when it comes to the latest tips,technology and professionalism in the fencing industry. We’re taking that expertise and sharing it here, to help you grow your fencing business. Start planning your next fencing project today at AVO Fence & Supply.